
Started as a simple charting tool for monitoring a snow depth near the owner's country house in Norway, Highcharts quickly became one of the most popular visualization libraries. It provides a lot of great built-in interactive features and is easy to use.
In this tutorial we are going to build a simple e-commerce dashboard with Cube.js and Highcharts. We’ll use the main Highcharts library, as well as Maps, Stock, and Solid Gauge modules.
Update from April 2023. This guide was authored about 3 years ago and certain parts (e.g., generation of the front-end boilerplate code) are not relevant anymore. Please check up-to-date front-end guides in the blog.
Please keep in mind that Highcharts libraries are available under different licenses, depending on whether it is intended for commercial/government use, or for personal or non-profit projects. Make sure to check its license page.
Below, you can see the demo of the dashboard that we’re going to build.
You can find a live demo here and the source code is available on Github.
To implement this example, we’ll need:
- Database (we will use PostgreSQL) with sample data
- Cube.js backend to handle communications between our database and the frontend
- The frontend application (we will build one with React)
Analytics Backend
We’re going to use a PostgreSQL database and an example e-commerce dataset. Use the following commands to download and import the example dataset.
Next, let’s install the Cube CLI and create a new project.
Cube uses environment variables inside the .env file for configuration. Update the contents of the .env file with your own database credentials.
Now, let’s start with the Cube backend.
At this step, you can find the Cube playground at http://localhost:4000.
Here, you can see all the tables from our database and we can choose any of them to generate the schema.
The Cube Data Schema concept is based on multidimensional analysis and should look familiar to those with experience in OLAP cubes.
The two main entities are measures and dimensions: dimensions are ”as is” properties that we get from our database, but measures are results of aggregation operations like count, sum, average, and others.
In this example, we need an orders and users table. Please, check it and click “Generate Schema.” Cube will then generate Orders.js and Users.js files inside the schema folder.
Cube data schema is javascript code and can be easily edited. You can also dynamically generate schema, if needed.
Let’s update the schema/Users.js file.
We’ll keep only state, id dimensions, and count measure because we’ll need to use them in our example.
That’s it for our backend. We’ve configured the database and created the Cube. backend. Now, we’re ready to start working on our frontend application.
Frontend Dashboard with Highcharts
Let’s generate our app with Cube templates. Navigate to the Dashboard App tab and select “Create custom application” with React and Ant Design.
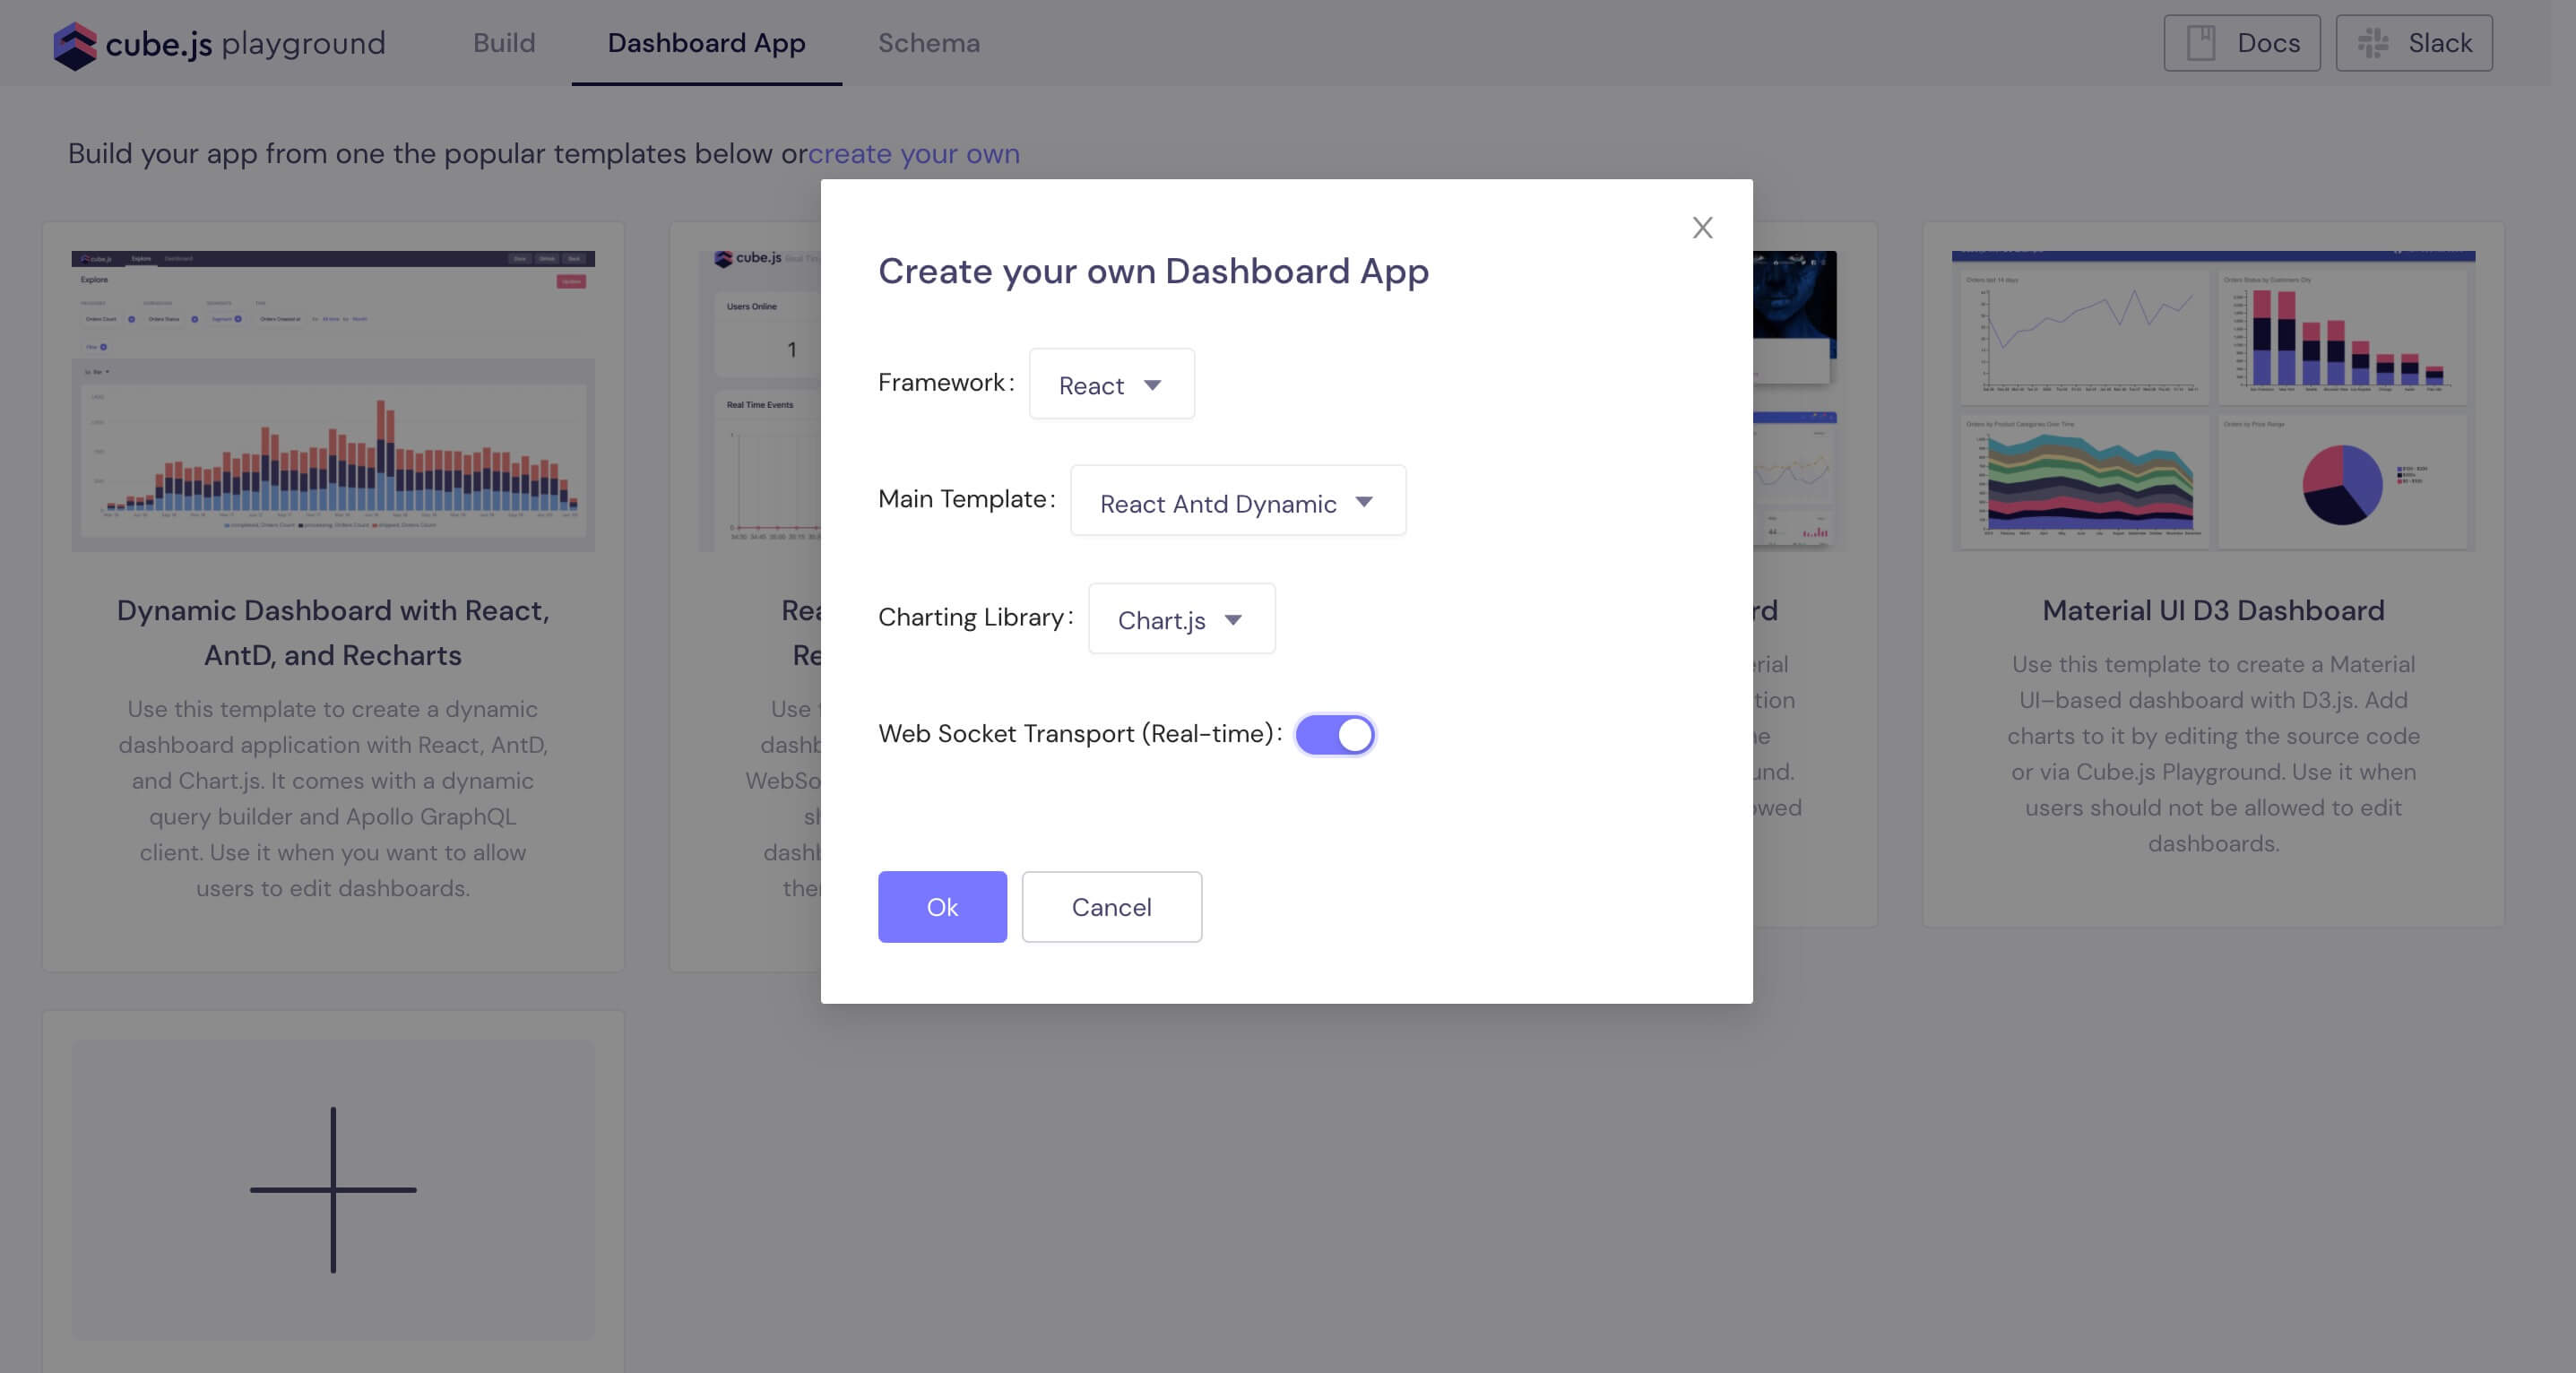
It will take some time to create a dashboard app and install dependencies. Once it is finished, you should see the dashboard-app folder inside your project’s folder.
Next, let’s install the dependencies we’ll need. Run the following commands in the dashboard-app folder.
The command above installs the following dependencies:
Feel free to remove all the files inside the src folder and the page folder, as well as update the dashboard/index.js file with the following content.
Our application will have the following structure:
Appas the main app componentDashboardcomponent that stores data and manages the app stateMap,Line,Stock, and other chart components that manage chart render according to applications data and state.
Let’s create the <Dashboard /> component in the dashboard-app/src/components/Dashboard.js file with the following content. (We’ll create the <Map /> component later):
In the above snippet, we did several things. We imported useCubeQuery React hook first.
Next, to render the amount of orders in each state, we need to change the data into Highcharts’ format, where the first element is the state key and the second element is the value.
We’re using resultSet.tablePivot() to access data returned from the backend and to prepare it for rendering.
Now, we’re ready to pass our data to the Map chart. Let’s create a new dashboard-app/src/components/Map.js file with the following content.
Inside the Map.js file, we imported useState, useEffect hooks, and a bunch of Highcharts components. Then, we defined chart options based on Highcharts Map API specs.
In staticOptions, we can set map styling, source, data, event handlers, and other options.
Highcharts has a wide selection of SVG maps to use. We’ve picked this one.
Lastly, we merged our staticOptions and props.data and then passed it to the Highcharts component.
That’s all for our <Map/> component.
Now, we just need to update the ‘dashboard-app/App.js’ to include the <Dashboard /> component:
...and we’re ready to check out our first chart!
Navigate to http://localhost:3000 in your browser, and you should be able to see the map chart that we’ve just built.
A similar workflow can be used to create other chart types, as in the GIF below.
- Define the static chart options, according to Highcharts API documentation.
- Add data to options.series.
- Pass options to the Highcharts component.
The full source code of the above dashboard is available on Github, and you can check the live demo here.
I hope you’ve found this tutorial helpful. If you have any questions or any kind of feedback, please let us know in this Slack channel.